Do you want to insulate your roof and enjoy improved living comfort and lower energy costs? A well‑insulated roof helps you heat your home more efficiently and prevents heat loss.
In this guide, we explain step by step how to insulate your roof yourself, whether it concerns a pitched roof, flat roof, or attic floor.
Why insulating your roof is important
An uninsulated roof causes significant heat loss in your home. By insulating your roof, you avoid thermal bridges and improve the energy efficiency of your property.
In addition, during renovation works you are often eligible for a reduced VAT rate of 6% when working with certified insulation specialists.
Which roof insulation method should you choose?
The most suitable insulation method depends on your roof type and the existing roof covering.
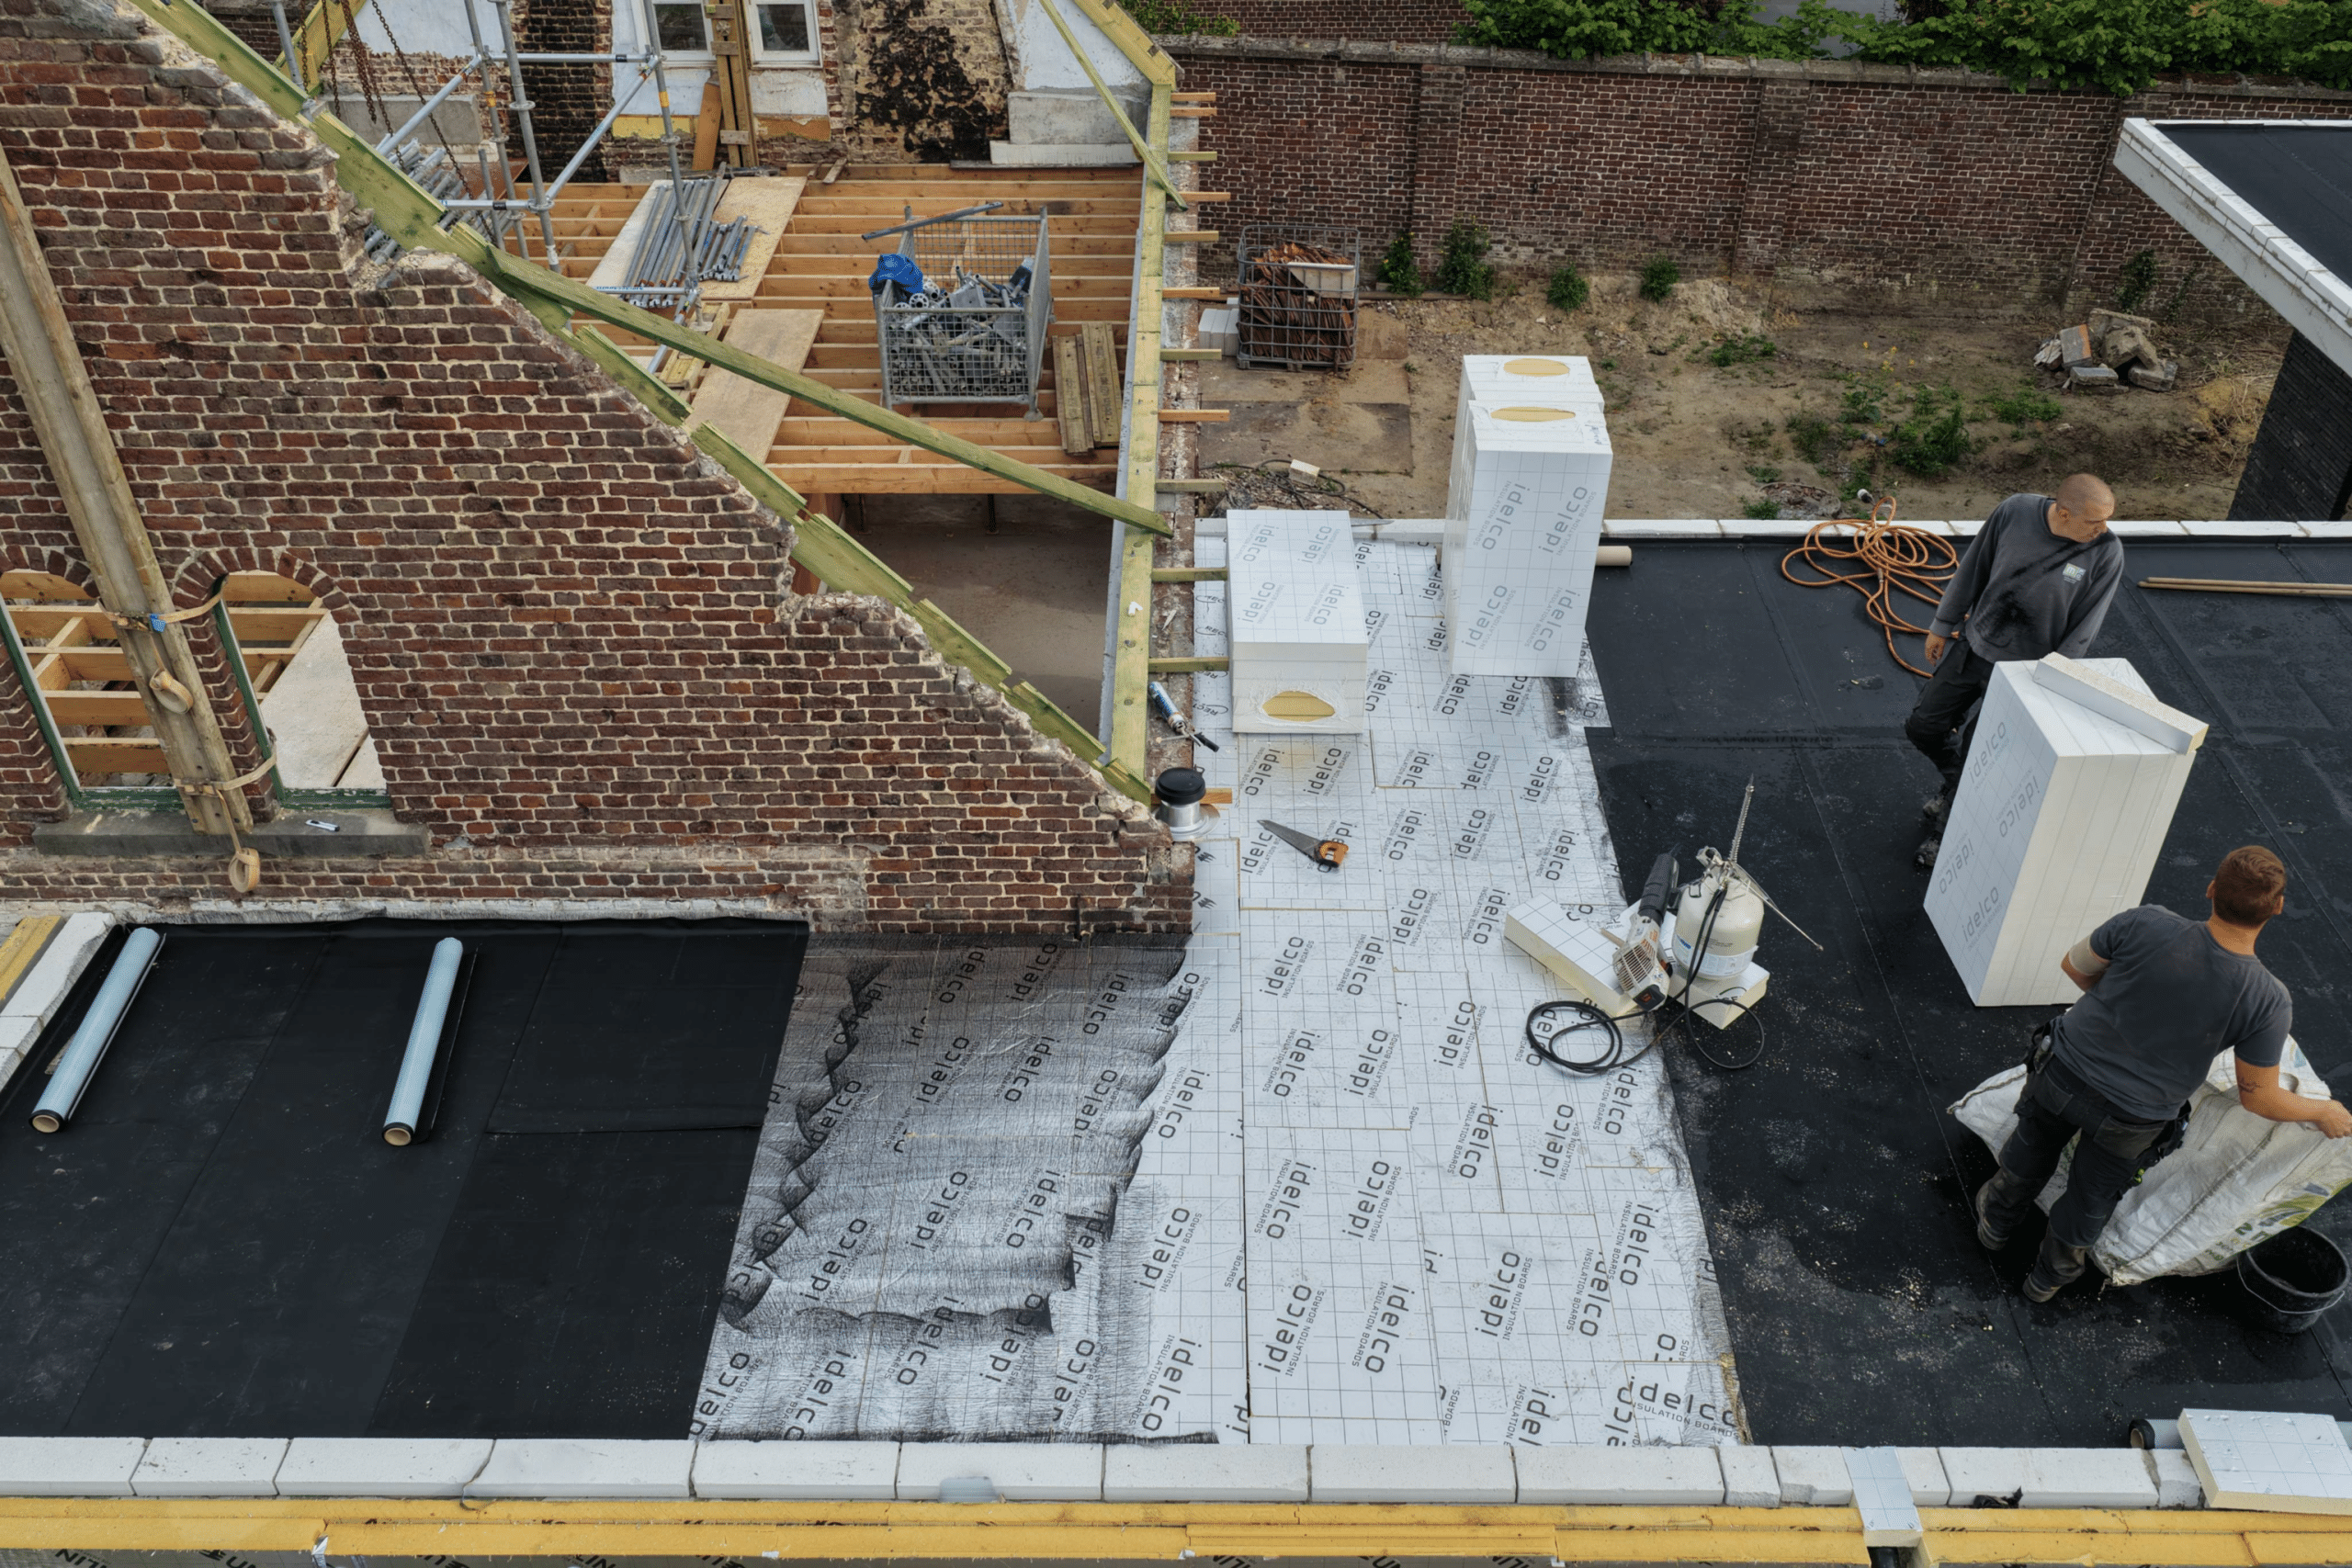
1. Insulating a pitched roof
You can insulate a pitched (sloped) roof from the inside or the outside. Insulating from the inside, such as installing rigid insulation boards between the rafters, is often the most suitable method for DIYers.
- Insulating from the inside: installing rigid PIR insulation boards between the rafters is the most recommended method for DIYers. Internal insulation is a popular choice for renovation projects.
- Insulating from the outside: ideal during renovation, as you can apply a thicker insulation layer without losing interior space. This can be done using sarking insulation, where insulation boards are installed on top of the roof structure, eliminating thermal bridges and keeping the interior finish intact.
2. Insulating a flat roof
For flat roofs, you can choose an inverted roof system, where the insulation is placed on top of the roof covering, or insulation from the inside.
- Inverted roof: insulation is installed on top of the existing roof covering (note: PIR is not suitable for this system).
- Insulating from the inside: this can be a solution when the roof structure cannot be altered, but it is generally not recommended due to the increased risk of thermal bridges and condensation issues.
3. Insulating the attic floor
If the attic is not used as a living space, insulating the attic floor is an efficient solution. This prevents heat loss to unused areas.
Step‑by‑step roof insulation installation
1. Preparation
- Check the existing roof covering and remove any moisture or damaged insulation.
- Choose the right insulation material. PIR insulation boards from Idelco offer excellent thermal performance and high compressive strength, making them ideal for both pitched and flat roofs.
- Gather the necessary tools and materials: make sure you have all basic tools at hand, such as a cutting knife, tape measure, vapour barrier foil, and fixing materials. Depending on the roof build‑up and insulation system, additional accessories may be required.
2. Installing the insulation
- Install the insulation boards accurately between the rafters or directly onto the existing roof covering.
- For a pitched roof, you can choose mineral wool or pressure‑resistant PIR boards for higher insulation performance.
- For a cold roof, airtight installation is crucial to prevent condensation.
- Consider a thicker insulation layer if you want to achieve maximum energy savings.
3. Finishing after insulation
- Finish the insulation airtight using tape, especially for façade applications or interior renovations of pitched roofs — in some cases this can eliminate the need for a separate vapour barrier.
- With sarking insulation, the finishing is done on the outside; add new roofing or an underlay membrane if required.
- Make sure there are no gaps or openings to prevent heat loss and air leakage.

Have insulation installed or install it yourself?
Installing insulation yourself can save costs, but for correct execution and optimal insulation performance, you can also choose to have your roof insulated by an experienced insulation specialist.
Frequently asked questions
1. How thick should my insulation be?
The required insulation thickness depends on the material. PIR insulation has a higher insulation value (lower lambda value) than, for example, mineral wool. As a result, you can achieve the same thermal performance (R‑value) with a thinner layer of PIR.
For example, to achieve an R‑value of 4.5 m²K/W:
- With PIR (λ ≈ 0.022 W/mK), you need about 10 cm
- With mineral wool (λ ≈ 0.040 W/mK), you need around 18 cm
This not only saves space, but also reduces the build‑up height of your roof or wall.
2. What is the difference between PIR and mineral wool?
- PIR insulation boards: high insulation value with minimal thickness, pressure‑resistant and moisture‑resistant
- Mineral wool: flexible, but less pressure‑resistant and more sensitive to moisture
3. Can I keep my existing roof covering?
In most cases, the existing roof covering must be removed before installing insulation on the outside, such as with the sarking system. The insulation boards are installed directly onto the roof structure, which requires a stable, dry, and clean substrate.
Conclusion
Insulating your roof yourself is perfectly achievable with the right preparation and materials. Would you like advice on the best insulation materials? Contact Idelco Insulation for expert guidance and high‑quality insulation solutions.